Removing wallpaper glue residue can restore a wall’s surface and prepare it for painting or a fresh wallpaper installation. The process involves loosening dried adhesive, lifting it away without damaging the wall, and drying thoroughly to prevent mold. Proper technique minimizes effort and protects the underlying material.
Readers will learn practical steps, gear, and common pitfalls to avoid, using common household products and purpose-made tools designed for wallpaper removal in American homes.
Quick Answer
Best approach: Start with warm water and a mild adhesive remover, then use a wallpaper scraper tool for stubborn spots. For tall glue layers, a wallpaper glue remover spray can simplify the job. Always test a small area first and work in manageable sections to avoid surface damage.
What You’ll Need
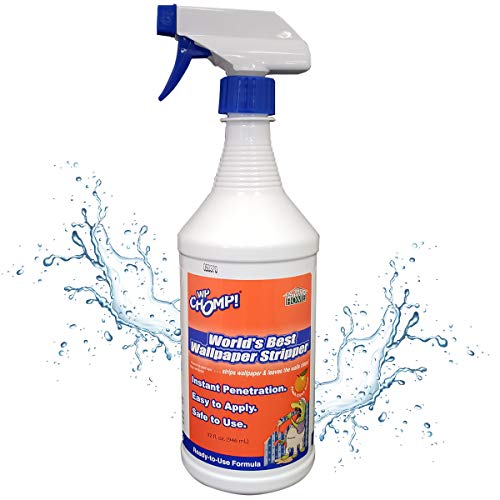
- Wallpaper glue remover spray
- Adhesive remover for wallpaper
- Water and a soft sponge or cloth
- Wallpaper scraper tool
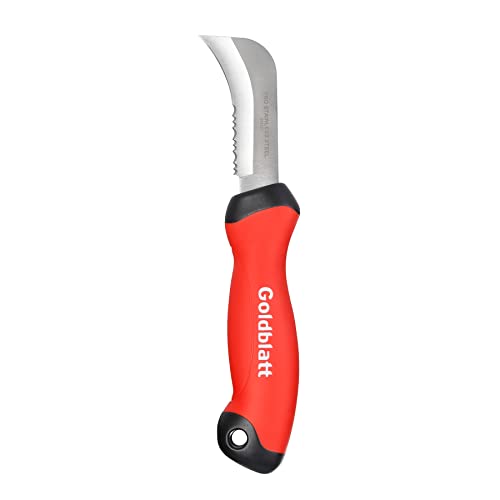
- Scoring tool for wallpaper removal
- Utility knife for wallpaper removal

Before You Start
Clear the work area and protect floors with drop cloths. Patch test any remover on a small, inconspicuous area to check for wall damage or color bleed. For painted walls, ensure the paint is well adhered and not loose. Allow adequate ventilation when using chemical removers. Time estimates vary by wall texture and glue thickness, but plan for 1–4 hours per room, including drying time.
Step-By-Step: How To Clean Wallpaper Glue Residue
- Identify the glue areas and gently score the surface with a scoring tool to allow solution penetration, taking care not to gouge the wall.
- Apply wallpaper glue remover spray or adhesive remover for wallpaper to the scored areas following product instructions.
- Wait the recommended dwell time, typically 5–15 minutes, until the adhesive begins to soften.
- Moisten a sponge with warm water and blot the treated area to loosen the glue further.
- Use a wallpaper scraper tool at a shallow angle to lift the glue, progressing in small sections.
- For stubborn spots, reapply the remover and re-scrape, working gradually to avoid wall damage.
- Rinse the wall with clean water to remove residue and prevent soap buildup that can hinder future finishes.
- Dry the surface completely with a towel or a fan; ensure no damp spots remain to prevent mold growth.
- Inspect the wall: if residual glue remains, repeat the steps on those patches only.
- Clean tools promptly after use to maintain their effectiveness for future projects.
- Proceed to repaint or re-wallpaper after the wall is fully dry and smooth.
- Store leftover product according to label directions and keep out of reach of children.
Troubleshooting
| Symptom | Likely Cause | Fix | Prevention |
|---|---|---|---|
| Glue resists removal after initial pass | Glue thick or old | Reapply remover and dwell longer | Test glue early; use proper dwell times |
| Discoloration or paint lifting | Excess moisture or aggressive scrubbing | Pause, dry, and reapply gentle pressure | Use minimal water; avoid excessive scrubbing |
| Wall surface feels rough after cleaning | Scraping damage or uneven glue removal | Sand lightly with fine grit if needed | Use proper scraper angle and soft tools |
| Mold or musty smell after cleaning | Insufficient drying | Increase ventilation and dry thoroughly | Drying time longer in humid spaces |
Common Mistakes
- Using aggressive scrapers that gouge the wall surface
- Over-wetting walls, which can cause bubbling or paint failure
- Skipping a test patch, leading to color bleed or wall damage
- Rushing the process near seams or corners, leaving glue behind
- Not properly drying the wall before repainting
Tips For Best Results
- Work in small sections to maintain control and prevent dried glue setting again
- Keep a damp cloth handy to wipe away loosened glue immediately
- Use a heat gun cautiously to soften stubborn adhesive if recommended by product instructions
- Choose the right remover: spray formulas are convenient for larger areas
- Match the remover to your wall type (painted, vinyl, or fabric-backed wallpaper)
Call A Professional
Consider hiring a pro if the wall shows extensive damage, if removing glue from delicate surfaces, or when dealing with specialty wallpapers. Stop and call a professional if you notice peeling paint, water stains, or mold growth that requires remediation beyond standard adhesive removal.
FAQ
What is the fastest way to remove wallpaper glue?
Apply a wallpaper glue remover spray and work in small sections with a scraper after the adhesive loosens.
Can I use household products to remove wallpaper glue?
Warm water and mild soap can help, but adhesive removers are more effective for tougher residues.
Is it necessary to score the wallpaper before removing glue?
Scoring helps solutions penetrate, especially on vinyl or thick glue, but avoid excessive scoring on delicate walls.
How long should I wait after applying remover to let it work?
Follow the product label, typically 5–15 minutes, allowing the adhesive to soften.
What should I do if the wall is painted?
Test a small area first; use gentle pressure and avoid over-wetting to protect paint integrity.
When is it appropriate to repaint after glue removal?
Only after the wall is completely dry and smooth, with no remaining adhesive or moisture.
What tools are essential for glue removal?
A wallpaper scraper tool, scoring tool, adhesive remover, and a utility knife are highly recommended.
Buying Guide
When selecting products for wallpaper glue removal, consider how the equipment aligns with project scope and wall type. For large rooms, a wallpaper glue remover spray paired with a wide scraper reduces effort, whereas scoring tools help with stubborn layers. Look for adhesives that are safe for painted walls, vinyl wallpaper, and drywall, with clear dwell times and ventilated use.
Size matters for tools: choose scrapers with comfortable handles and replaceable blades. Noise and odor vary by product; a low-odor remover is beneficial for indoor use. Energy efficiency is less of a factor here, but efficient products reduce processing time. Positioning: keep supplies within arm’s reach to minimize repeated trips and maintain steady progress. Finally, compare compatibility with wall finishes and plan for a second pass if needed.