Spills happen in homes, garages, and workplaces alike. Quick, methodical action prevents slips, minimizes damage, and keeps the area safe. This guide provides practical steps, lists essential tools, and outlines best practices for cleaning up various liquid spills in American settings.
Quick Answer
Contain the spill immediately with absorbent materials, don gloves, and tackle the liquid from the edges toward the center. Use a wet/dry shop vacuum for liquids when appropriate, then dispose of contaminated materials according to local regulations. For persistent or hazardous spills, halt the cleanup and call a professional.
What You’ll Need
- Absorbent spill kit universal sorbents pads socks
- Industrial absorbent socks spill containment kit
- Microfiber mop head and bucket set for spills
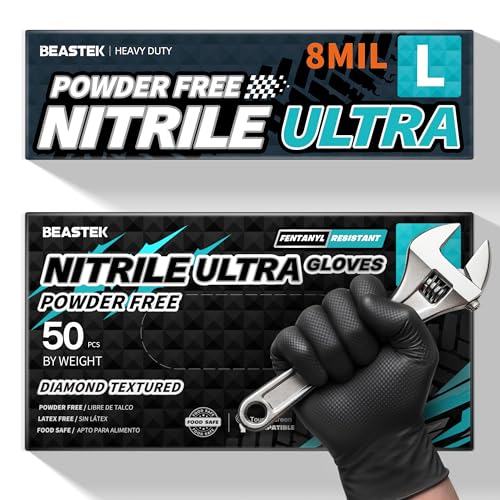
- Disposable nitrile gloves chemical resistant heavy duty
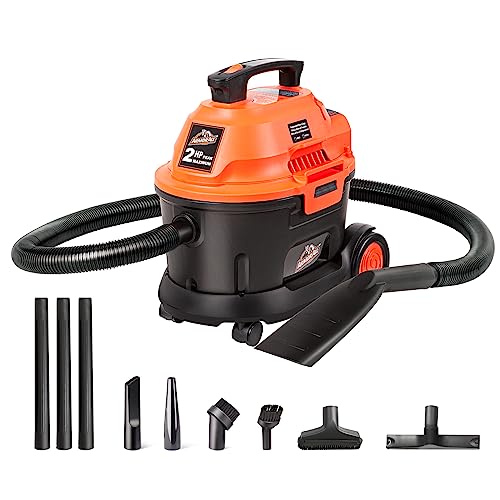
- Wet/dry shop vacuum for liquid spills

Before You Start
Clear the area and remove obstacles. Put on disposable nitrile gloves to protect hands from chemicals and contaminants. If the liquid is unknown or potentially hazardous, treat as hazardous until identified. Ventilate the area when possible and avoid creating aerosols or splashes. Time estimate: 15–45 minutes for a typical spill; larger spills require more time and equipment.
Critical cautions: Do not mix cleaners with unknown liquids. Keep children and pets away. If the spill is on an electrical source or appliance, shut off power before cleaning and consult a professional.
Step-By-Step: How To Clean Up A Spill Safely And Effectively
- Assess the spill type and size, then alert others if necessary.
- Isolate the area with barriers or towels to prevent footprints and slips.
- Put on chemical resistant heavy duty nitrile gloves and other PPE as needed.
- Place absorbent materials (pads, socks) around the perimeter to form a dam and soak up the bulk of the liquid.
- Use more absorbent pads or socks to cover remaining wet spots and wring out as needed toward a designated disposal zone.
- If the liquid is water-based and non-hazardous, use a microfiber mop head and bucket set to gather residual moisture.
- For larger or more stubborn spills, employ a wet/dry shop vacuum for liquid spills to remove liquids efficiently.
- Pack used absorbents and disposable gloves in a sealed bag and dispose according to local regulations. Clean the area with an appropriate cleaner if required and allow to dry completely.
Troubleshooting
| Symptom | Likely Cause | Fix | Prevention |
|---|---|---|---|
| Liquid spreads beyond initial containment | Dam or absorption not sufficient | Add additional absorbent socks or pads, re-dam if needed | Create multiple containment barriers at the spill edge |
| Odor persists after cleanup | Residual moisture or chemical residue | Use appropriate cleaner and ensure full drying | Ventilate area during and after cleanup |
| Gloves integrity compromised | Rips or tears during handling | Replace gloves immediately and re-evaluate PPE | Choose proper glove size and material for the liquid |
| Vacuum motor overheating | Overloaded with liquid | Allow cooling or pause; empty canister and repeat | Do not exceed vacuum’s liquid capacity |
Common Mistakes To Avoid
- Waiting too long to begin containment
- Using the wrong absorbents for highly reactive chemicals
- Rubbing spills instead of absorbing to avoid spreading
- Neglecting proper disposal and decontamination
Tips For Best Results
- Work from the outer edge inward to prevent spreading the spill.
- Keep a dedicated cleanup kit readily accessible in areas prone to spills.
- Dry surfaces thoroughly after cleanup to prevent slips or bacterial growth
- Test a small area with cleaner first to avoid damaging floors or surfaces
Call A Professional
Contact a professional if the spill involves unknown chemicals, flammable liquids, strong corrosives, or large volumes that overwhelm normal cleaning methods. Signs to seek expert help include persistent odor, lingering discoloration, or potential contamination of porous materials.
FAQ
What should I do first when a spill happens?
Contain the spill with absorbents, put on gloves, and assess for hazards before proceeding with cleanup.
Can I reuse absorbent materials after a spill?
In most cases, contaminated absorbents should be disposed of according to local rules to avoid cross-contamination.
Is a wet/dry shop vacuum safe for all liquids?
No. Only use a shop vacuum designed for liquids and ensure it is appropriate for the specific chemical and volume.
What if the spill is on a carpet or porous surface?
Blot and absorb with pads, then consult cleaning guidelines for porous materials or call a professional for deep extraction.
Are gloves always necessary?
Gloves are strongly recommended for chemical spills and any cleanup involving unknown liquids.
How do I dispose of contaminated cleanup materials?
Place all contaminated items in a sealed bag or container and follow local disposal regulations for hazardous or special waste.
Can I use household cleaners to finish the cleanup?
Use cleaners appropriate for the surface and spill type; avoid mixing cleaners that can create dangerous reactions.
Buying Guide
When selecting spill cleanup gear for a home, shop, or workshop, consider factors such as system size, noise, efficiency, and control options. Start with a plan based on spill likelihood and handling needs, then compare products that align with the following factors.
Key Buying Factors
- Size and capacity — Choose absorbent kits and socks suitable for expected spill volumes; keep one compact kit for everyday use and a larger kit for workshops.
- Absorbent versatility — Look for universal sorbents that handle various liquids, including oils and chemicals.
- Containment tools — Industrial absorbent socks are essential for creating effective barriers around larger spills.
- Cleaning tools — A microfiber mop head and bucket set helps with quick surface cleanup and absorption.
- <bPersonal protective equipment — Disposable nitrile gloves provide chemical resistance and dexterity for safe handling.
- Liquid removal — A wet/dry shop vacuum for liquids speeds up cleanup, especially on hard flooring; verify it can handle the expected liquids.
- Portability and storage — Select kits that are easy to transport and store in reachable locations.
- <bMaintenance and disposal — Check whether the kit includes disposal bags or if separate waste bags are needed.
- <bNoise and energy use — For powered cleanup tools, assess noise levels and energy needs, especially in home environments.
- <bPlacement — Store spill kits in accessible, well-marked spots near high-risk areas such as garages, kitchens, or workshop floors.
By evaluating these factors and matching them to the expected spill scenarios, users can select a practical, effective setup that minimizes risk and cleanup time. Would you like help choosing a kit configuration tailored to your space and typical liquids?