Keeping pipe threads clean is essential for reliable connections and leak prevention. This guide walks American users through safe, effective steps using common tools and a dedicated cleaning kit to restore threaded joints to peak condition.
By following practical techniques and choosing the right accessories, DIYers and professionals can minimize waste and ensure a tight seal on various pipe materials and fittings.
Quick Answer
Best practice: use a dedicated pipe thread cleaning kit to remove debris, apply a gentle solvent to dissolve residue, and finish with a deburring tool and thread chaser for a pristine seal. Always dry-fit before final assembly and test for leaks with suitable methods.
What You’ll Need
- Pipe thread cleaning brush set for aggressive debris removal in the threads
- Thread chaser pipe threading cleaner to restore thread geometry without damage
- Pipe threader deburring tool to smooth edges after cleaning
- Pipe thread sealant remover solvent to lift old sealant residues
- NPT pipe thread cleaning kit as a comprehensive solution for typical American pipe standards
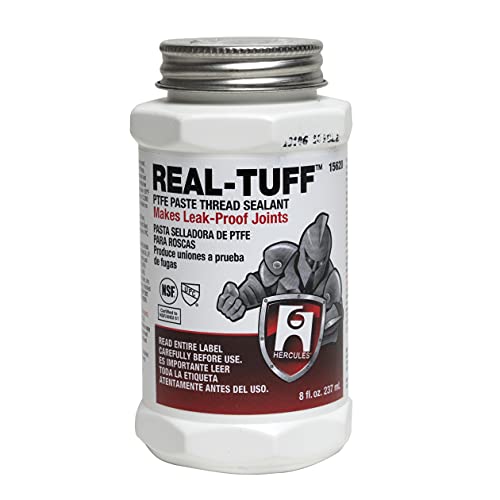


Before You Start
Prepare a clean workspace and gather all tools before beginning. Ensure the area is well-ventilated if solvents are involved. Shut off water or gas supply and relieve system pressure where applicable. Wear eye protection and gloves to prevent cuts from sharp edges. Critical cautions: never force threads or use metal brushes on worn or severely damaged threads, which can create leaks or crack fittings. Allow solvents to evaporate fully before reassembly.
Step-By-Step: How To Clean Pipe Threads
- Inspect the threads for visible damage, burrs, or cross-threading. If threads are damaged beyond cleaning, replacement may be required.
- Apply the pipe thread sealant remover solvent to loosening old sealant residues around the threads. Let it sit per manufacturer directions.
- Use the pipe thread cleaning brush set to scrub the exterior threads gently, removing dirt, corrosion, and old sealing material.
- Switch to the thread chaser pipe threading cleaner to realign and restore the thread profile, moving in a straight, even motion along the threads.
- Run the pipe threader deburring tool along the throat and outer edge to remove any burrs that could hinder proper seating.
- Wipe the threads clean with a lint-free cloth and inspect for a smooth, uniform surface. Dry-fit a corresponding nut or fitting to check alignment.
- If residual residue remains, repeat cleaning steps with caution and light pressure to avoid galling or cross-threading.
- Apply a fresh sealant or thread tape only after the threads are completely clean and dry. Reassemble fittings by hand first, then torque to spec if required.
- Perform a leak test by running the system with a low-pressure check or soapy water method to identify any leaks at the joint.
- Document any recurring issues, such as persistent corrosion or thread damage, and consider replacing compromised components.
- Store tools properly after use and clean solvent residues from work surfaces to prevent slips or damage.
Troubleshooting
| Symptom | Likely Cause | Fix | Prevention |
|---|---|---|---|
| Leak at joint after assembly | Damaged threads or improper sealant | Clean and repair threads; reapply appropriate sealant | Inspect threads before assembly; use correct sealing method |
| Easy cross-threading during assembly | Misaligned threads | Realign by hand, then reattempt with light pressure | Clean threads first; start threads by hand |
| Persistent residue after cleaning | Old sealant or corrosion | Repeat cleaning with solvent and brush; consider replacement | Use proper solvent and avoid over-tightening |
| Stiff threads not repairing | Severe wear or pitting | Replace affected fittings or use a thread repair kit | Regular maintenance to catch wear early |
Common Mistakes
- Using metal brushes aggressively on worn threads, which can cause damage
- Rushing the cleaning process and skipping the drying step
- Using excessive force during threading attempts, leading to cross-threading
- Applying sealants to dirty threads, trapping debris and causing leaks
Tips For Best Results
- Always ensure threads are thoroughly dry before applying sealants or torque
- Match cleaners to the pipe material (copper, steel, PVC) for best results
- Test-fit fittings dry before applying any sealant to gauge alignment
- Maintain a clean workspace and organize tools to minimize cross-contamination
- Keep a small stash of replacement thread chasers and deburring blades for sharp edges
Call A Professional
Consult a plumber or qualified technician if:
- Threads show deep cross-threading or significant wear
- Leaks persist after re-cleaning and resealing attempts
- The system operates under high pressure or contains hazardous fluids
FAQ
What is the best tool to clean pipe threads?
The best results come from a pipe thread cleaning brush set paired with a thread chaser pipe threading cleaner and a pipe threader deburring tool.
Can I reuse old sealant after cleaning?
Reusing old sealant is not recommended; clean threads thoroughly and apply fresh sealant or tape.
How do I know if threads are damaged?
Look for cross-threading, excessive burrs, or worn peaks; if in doubt, replace the affected segment.
Is a solvent necessary for cleaning threads?
A solvent aids residue removal, especially on aged joints, but ensure proper ventilation and follow product directions.
What should I do if leaks persist after repair?
Recheck alignment, clean thoroughly, reseal, and perform a pressure test; persistent leaks may require professional evaluation.
Buying Guide
When selecting tools for cleaning pipe threads, consider size compatibility, material durability, and kit completeness. Think about how often the work occurs and the typical pipe standards you encounter in American plumbing systems.
Key buying factors include size compatibility with common NPT threads, noise and ease of use, and efficiency in removing old sealants without damaging threads. A dedicated kit often provides the right balance of brushes, chasers, and deburring tools to cover most standard maintenance tasks.
For space and convenience, a compact NPT pipe thread cleaning kit that contains all core components is valuable for both shop and field use. Evaluating user reviews and warranty terms can also help identify reliable, long-lasting options.