Properly cleaning makeup brushes is essential for skin health and makeup performance. This guide explains practical methods using common tools to keep brushes hygienic and extend their life.
Whether you’re a daily user or a pro, following a structured routine helps prevent breakouts and ensures flawless makeup application. The steps below cover several cleaning approaches, from quick daily rinses to deeper cleans using specialized tools.
Quick Answer
Best overall approach: combine a quick daily rinse with a deeper weekly cleanse using dedicated tools. For most people, a gentle wash with soap and water is enough for everyday maintenance, while a silicone mat or ultrasonic cleaner delivers a deeper cleanse for stubborn buildup.
What You’ll Need
- Silicone makeup brush cleaning mat
- Ultrasonic makeup brush cleaner
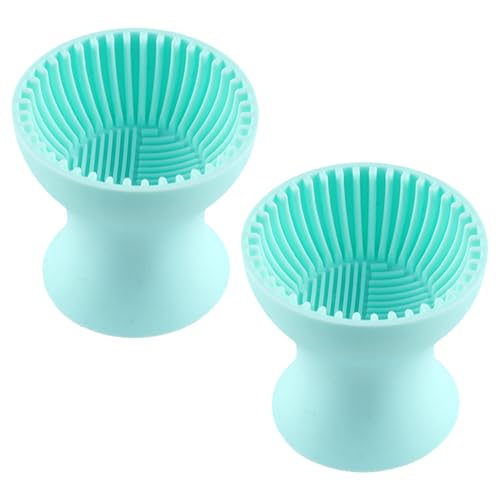
- Makeup brush cleansing bowl with grid
- Electric makeup brush cleaner machine
- Silicone brush cleaning grip pad for makeup brushes

Before You Start
Prepare a clean workspace and gather brushes to be cleaned. Use lukewarm water and a mild, brush-safe cleanser. Avoid hot water as it can damage brush bristles, and never submerge handles with glued-in ferrules for extended periods. Allow brushes to air-dry thoroughly after cleaning, preferably with bristles pointing downward to prevent water from seeping into the ferrule.
Step-By-Step: How To Clean Makeup Brushes
- Remove excess makeup by gently tapping the brush on the edge of a sink or tissue.
- Wet the bristles with lukewarm water, keeping water away from the ferrule.
- Create a mild lather using a brush-safe cleanser or gentle liquid soap.
- Swirl the brush head over a silicone mat or in a cleansing bowl to work up the cleanser.
- Rinse thoroughly until the water runs clear and repeat if needed for heavy buildup.
- For deeper cleaning, use an ultrasonic makeup brush cleaner or an electric makeup brush cleaner machine according to the manufacturer’s instructions.
- Gently squeeze out excess water and reshape the bristles with your fingers.
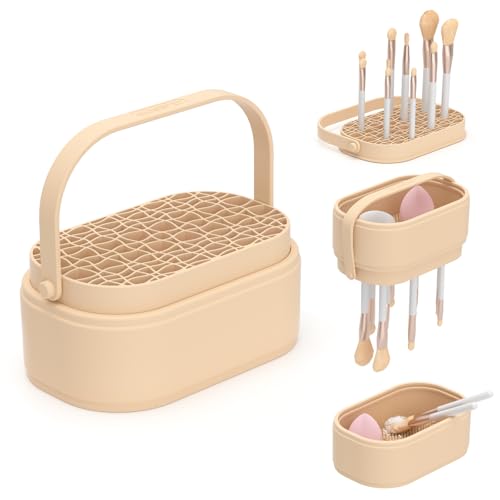
- Place brushes on a clean surface to air dry, ideally with bristles hanging off a rack or laid flat to maintain shape.
- Clean brushes weekly for daily users; include a deeper clean every few weeks for dense makeup brushes.
- Keep the cleansing tools clean between uses and replace worn brushes to maintain hygiene.
- Store dry brushes upright in a protected container to prevent contamination.
- Document a regular cleaning schedule to ensure consistent maintenance and long brush life.
Troubleshooting
| Symptom | Likely Cause | Fix | Prevention |
|---|---|---|---|
| Brushs Pflege bristles remaining tacky after cleaning | Insufficient rinsing or residue from cleanser | Rinse thoroughly; repeat wash if needed | Use a mild, brush-safe cleanser |
| Rough or frayed bristles after cleaning | Harsh cleaning methods or improper drying | Avoid aggressive scrubbing; reshape bristles and air dry | Choose softer cleansers and gentle drying methods |
| Moldy odor after drying | Brushes not fully dried or stored damp | Ensure complete drying before storage | Dry brushes completely in a ventilated area |
| Water leaks into ferrule during washing | Water exposure to glued ferrules | Avoid soaking and keep water away from ferrules | Use minimal water and proper drying angle |
| Residue around brush base | Residue from cleansing tools | Rinse tools thoroughly after each use | Regularly clean tools and bowls |
Common Mistakes
- Washing bristles with hot water or harsh detergents
- Not rinsing tools and brushes thoroughly
- Leaving brushes wet for extended periods
- Using excessive force during cleaning, causing bristle damage
- Storing brushes with bristles down in closed containers
Tips For Best Results
- Routinely clean brushes used with concealers and cream products more frequently due to higher buildup.
- Rotate brushes on a regular schedule to prevent over-cleaning any single brush.
- Use a dedicated brush-safe cleanser to protect bristle quality.
- For stubborn residue, a brief soak in warm water before washing can help loosen product.
- Label brush types (face vs. eye) to avoid cross-contamination during cleaning.
Call A Professional
Consider professional cleaning for high-end or delicate brushes with fragile bristles or unusual shapes. Seek assistance if brushes begin shedding bristles, if handles loosen, or if bristles curl or deform despite cleaning efforts.
FAQ
How often should makeup brushes be cleaned?
Daily-use brushes should be rinsed after each use and deep-cleaned weekly. Face brushes may require deeper cleans every 1–2 weeks depending on usage.
Can I use dish soap to clean brushes?
Plain, mild dish soap can work, but brush-safe cleansers maintain bristle integrity and color performance better over time.
Is it safe to use an ultrasonic cleaner for all brushes?
Ultrasonic cleaners are effective for many brushes, especially synthetic bristles, but always check manufacturer guidance to avoid damage.
What drying method is best for brushes?
Air-drying is ideal. Lay brushes flat or with bristles hanging to maintain shape and prevent water from seeping into the ferrule.
Buying Guide
When choosing brush-cleaning gear, consider size and compatibility with your brush collection, noise level, and energy efficiency. For compact spaces, a silicone makeup brush cleaning mat paired with a makeup brush cleansing bowl with grid can cover most daily needs. For deeper cleans, an ultrasonic makeup brush cleaner or an electric makeup brush cleaner machine speeds up the process. A silicone brush cleaning grip pad for makeup brushes helps control movement during cleaning. Think about how you store tools and whether you prefer manual, semi-automatic, or fully automatic cleaning. Placement matters: keep cleaning devices on a stable, water-resistant surface and away from edges to prevent spills.