Cymbals add texture and articulation to a drum set, but their surface can accumulate fingerprints, fingerprints, and grime over time. Regular cleaning restores brightness and extends life when done correctly. This guide provides practical steps, safety notes, and recommended products to help American players maintain their cymbals without damaging the alloy or finishes.
All steps prioritize gentle, non-abrasive methods and clear, measured techniques suitable for common drum set cymbals. Whether you own crash, ride, hi-hat, or splash cymbals, the same core approach applies to most alloys and finishes.
Quick Answer
Best starting approach: wipe with a dry microfiber cloth, then use a cymbal cleaner spray or polishing kit for stubborn spots. Finish with a polishing pad or cloth to restore luster. Always test a small area first and avoid aggressive scrubbing.
What You’ll Need
Having the right tools reduces risk and speeds up the job. Below is a practical starter set drawn from common cymbal care products.
- Microfiber cymbal cleaning cloth
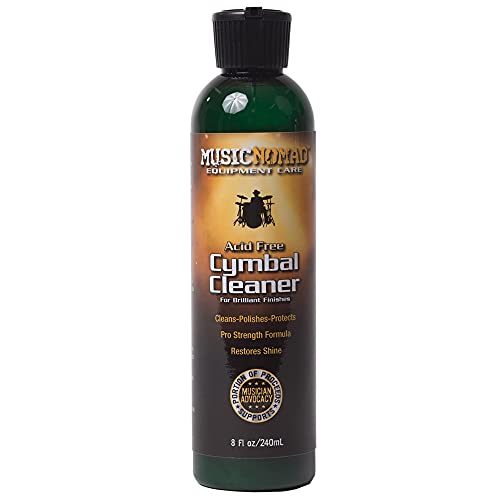
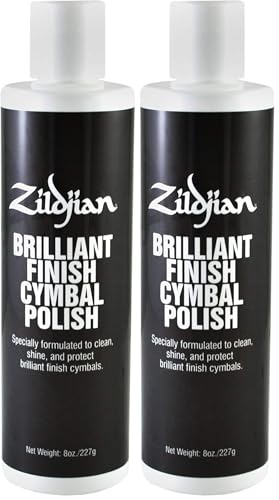
- Cymbal cleaner spray polish kit
- Drum cymbal cleaning kit with soft pad
- Cymbal polishing pad and cloth set
- Cymbal cleaning wipes

Before You Start
Before cleaning, ensure the cymbals are cool to the touch and remove them from the stand if possible to access both surfaces. Work in a well-ventilated area and protect surrounding gear. Avoid abrasive materials or solvent-heavy cleaners that can strip finishes or cause micro-scratches. Plan for a comfortable workspace and set aside 20–40 minutes depending on the number of cymbals and the level of grime.
Step-By-Step: How To Clean Cymbals Effectively
- Remove dust with a dry microfiber cymbal cleaning cloth, wiping in circular motions along the natural grain of the metal. This loosens loose particles without scratching.
- Inspect for fingerprints or smudges. For light marks, wipe with cymbal cleaning wipes following the grain. Avoid circular scrubbing that can create swirl marks.
- Apply cymbal cleaner spray polish kit to a clean cloth or pad. Follow the product’s directions for dosage and dwell time, especially on antique or patina finishes.
- Gently buff with a soft pad or the included polishing pad until the surface gleams. Use light pressure and keep strokes consistent to prevent uneven sheen.
- For stubborn tarnish, repeat with a second pass using a fresh cloth. Do not let cleaner sit too long; rinse or wipe away residue promptly if required by the product.
- Wipe residual cleaner with a microfiber cloth, ensuring no product remains in grooves or along the bell area. Dry thoroughly to prevent water spots or corrosion.
- Reassemble cymbals on stands and test for any balance issues or unusual noise. If needed, re-clean problematic zones with a cymbal polishing pad and cloth set for targeted touch-ups.
- Store cleaning supplies out of direct sunlight and in a cool, dry area to preserve their effectiveness for future use.
- Routine maintenance: perform a quick wipe-down after gigs or practice sessions to maintain gloss and protect finishes.
- For high-use setups, schedule a deeper clean every 1–3 months depending on climate and playing style.
- Document your routine and note any finish changes or wear patterns to tailor future cleaning approaches.
Troubleshooting
| Symptom | Likely Cause | Fix | Prevention |
|---|---|---|---|
| Dull or cloudy appearance | Built-up oils or oxidation | Use cymbal cleaner spray polish kit and re-buff | Clean after sessions; avoid touching with bare hands |
| Streaks or swirl marks | Inappropriate cleaning pad or circular motion | Switch to a soft pad; wipe with grain direction only | Test products on a small area first |
| Rings or water spots | Residual cleaner or moisture | Wipe thoroughly with microfiber cloth until dry | Dry thoroughly after cleaning |
| Sticky residue after cleaner use | Incompatible cleaner with finish | Switch to a product recommended for the cymbal type | Follow label instructions exactly |
Common Mistakes
- Using harsh abrasives or metal scrapers on lap joints or edge-work
- Over-wetting cleaning cloths and letting liquids pool on surfaces
- Cleaning while the cymbals are mounted and vibrating, which can spread cleaner unevenly
- Ignoring finish-specific instructions for patinas or vintage finishes
Being mindful of these pitfalls helps maintain tone and appearance over time.
Tips For Best Results
- Always wipe with the grain direction when possible to minimize micro-scratches.
- Test new products on a small area first to prevent damage to special finishes.
- Use separate cloths for cleaning and final buffing to avoid cross-contamination.
- Keep cleaning supplies capped and stored away from dust and heat sources.
- Label and organize tools by cymbal type (ride, crash, splash) to streamline maintenance.
Call A Professional
Consider professional assistance if cymbals show severe oxidation, deep pitting, or finish damage beyond routine cleaning. Stop cleaning and seek guidance when you notice persistent discoloration, cracking, or bell misalignment. A qualified technician can assess patina preservation versus restoration needs without compromising value or tone.
FAQ
How often should I clean my cymbals?
Regular quick cleanings after sessions plus a deeper clean every 1–3 months help maintain brightness and prevent buildup.
Can I use household cleaners on cymbals?
Avoid household cleaners that may contain ammonia or harsh solvents; use products labeled for cymbals or gentle metal polishes.
Is it safe to polish the bell area?
Yes, with a soft pad and appropriate cleaner, but avoid aggressive scrubbing to prevent bell deformation.
What’s the best method for matte or patina finishes?
Follow the finish’s care guidelines and opt for products designed for matte or patina surfaces to preserve texture.
Should I remove the cymbals from the stand before cleaning?
Yes. Removing them helps access both faces and reduces the risk of accidental drops or drips on hardware.
Buying Guide
When shopping for cymbal cleaning products, consider size and finish compatibility, ease of use, and the level of care your cymbals require. A well-rounded kit may include a microfiber cymbal cleaning cloth, a cymbal cleaner spray polish kit, and a drum cymbal cleaning kit with soft pad for safe, even buffing. Noise considerations are typically not a factor in cleaning, but the range of finishes—bright, traditional, or patina—dictates product choice. Look for clear instructions, residue-free formulas, and surface-safe polishing aids. For those with multiple cymbals, a cymbal polishing pad and cloth set can streamline maintenance. Finally, keep handy cymbal cleaning wipes for quick touch-ups during tours or gigs.
Size matters in terms of the cleaning cloth surface and the pad area; choose a kit that fits your cymbal sizes. Noise is generally not a cleaning concern, but the speed of buffing can be influenced by how smoothly you move the cloth. Energy efficiency is less about the product than about use time; select quick-drying formulas when cleaning during breaks in practice. Controls are straightforward: apply cleaner per package directions, wipe, and buff. Placement is simple—store cleaners in a cool, dry cabinet near your drum set for immediate access. Ready to start a dedicated care routine that protects shine and longevity?