Old trunks carry character but require careful cleaning to preserve their wood, hardware, and finishes. This guide outlines a practical, step-by-step approach that works on most antique trunks while protecting delicate details and signals when professional help is advisable.
Whether you’re preparing a trunk for display or repurposing it for storage, following a measured cleaning process helps maintain value and extends the life of the piece. The steps below emphasize safety, gentle cleaning, and appropriate products to use on wood and metal components.
Quick Answer
Clean gently with a soft brush and microfiber cloths, use a wood-safe cleaner for trunks, and treat brass hardware with a dedicated cleaner. Avoid harsh solvents on antique finishes; test in an inconspicuous area first, and proceed slowly to prevent damage.
What You’ll Need
- antique wood cleaner for trunks
- mineral spirits furniture restoration solvent
- soft bristle scrub brush for wood cleaning
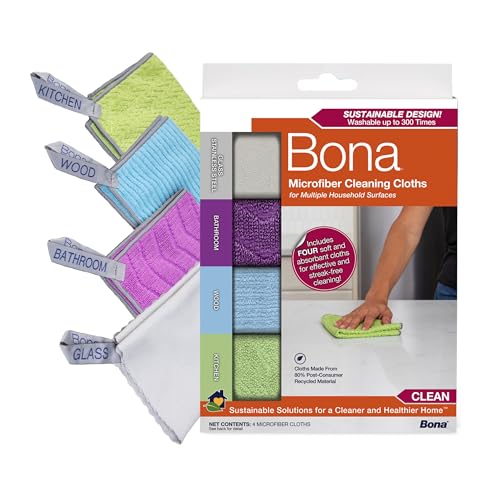
- microfiber cloth set for furniture cleaning
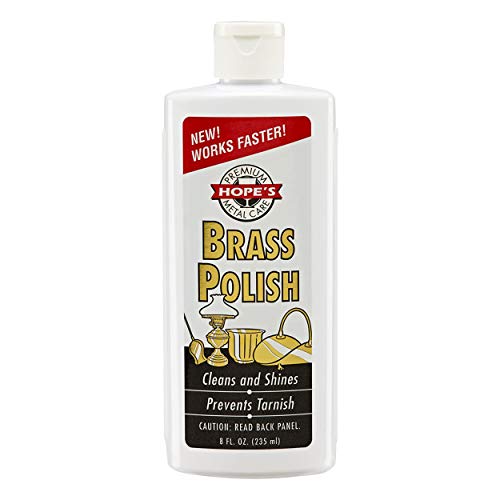
- brass hardware cleaner spray for trunks

Before You Start
Prepare a clean, well-lit workspace with good ventilation. Remove any decorative items or textiles from the trunk and place it on a stable surface. Wear protective gloves and goggles if using solvents, and avoid direct sunlight during cleaning to prevent finishes from drying unevenly. Pocket-sized tests on inconspicuous areas help you gauge reactions to cleaners. Time estimates vary with trunk size and condition, but plan for 1–2 hours for initial cleaning, with additional sessions for deeper restoration tasks.
Step-By-Step: How To Clean An Old Trunk
- Inspect the trunk thoroughly to note loose joints, flaking finish, or corroded hardware. Decide whether to treat hardware separately or remove it before cleaning.
- Dust the surface with a soft bristle scrub brush for wood cleaning to remove loose dirt and debris. Use gentle, even strokes to avoid scratching the wood grain.
- Prepare a mild cleaning solution suitable for antique wood. If using antique wood cleaner for trunks, apply it to a microfiber cloth rather than directly on the surface to prevent over-saturation.
- Wipe the surface in the direction of the wood grain. Pause to inspect for any softened areas or blotches that may indicate moisture damage.
- For stubborn grime, lightly dampen the microfiber cloth with a small amount of mineral spirits furniture restoration solvent. Test first in a hidden area, then use sparingly to avoid over-drying or dissolving old finishes.
- Gently wipe away residue with a clean microfiber cloth. Allow the surface to dry completely before proceeding to any conditioning or protective steps.
- Condition the wood if the trunk’s finish seems dry. Use a conditioner formulated for antique wood and apply sparingly, following product directions. Wipe off any excess before it cures.
- Address brass hardware separately. If hardware is tarnished, spray a brass hardware cleaner on a cloth and rub gently. Avoid spraying directly onto wood or moving parts that could trap cleaner inside crevices.
- Inspect the trunk after cleaning and reattach hardware if it was removed. Tighten any loose screws carefully and evenly to avoid misalignment.
- Optionally, apply a light, protective finish suitable for antiques, such as a wax-based conditioner or oil for wood. Follow the product’s instructions and buff with a clean, soft cloth to restore a natural sheen.
- Document the trunk’s condition and note any areas that may require professional restoration, especially if structural issues or significant finishes are present.
Troubleshooting
| Symptom | Likely Cause | Fix | Prevention |
|---|---|---|---|
| Finish appears milky after cleaning | Residual moisture or incompatible cleaner | Wipe with a dry microfiber cloth and allow to dry completely; avoid heavy moisture | Test cleaners on inconspicuous areas first |
| Wood grain looks dull after cleaning | Surface dried out; no conditioning applied | Apply a wood conditioner or light oil following product directions | Use appropriate conditioning products for antique wood |
| Hardware still tarnished | Brass oxidation | Apply brass cleaner to cloth and buff gently; avoid wood contact | Regular maintenance to prevent heavy tarnish buildup |
| Scratches appear deeper after cleaning | Over-wiping or aggressive scrubbing | Switch to softer cloths and gentler strokes | Keep a light touch and test products |
Common Mistakes
- Using aggressive solvents or ammonia-based cleaners on unfinished or old finishes
- Over-wetting wood, which can cause warping or finish lifting
- Removing decorative inlays or hardware without noting their positions
- Neglecting to test cleaners in hidden areas before full application
- Applying wax or conditioner too soon after cleaning, trapping dirt underneath
Tips For Best Results
- Work in a shaded area to avoid rapid drying of cleaners on hot or sunny days
- Use a line of products designed for antique furniture to reduce risk of damage
- Keep hardware removal minimal and documented to simplify reassembly
- Record products used and outcomes to guide future cleaning sessions
- Store the trunk in a dry environment with stable humidity to minimize wood cracking
Call A Professional
Consider contacting a professional if the trunk shows signs of significant structural damage, large cracks spreading across the wood, or if the hardware is brittle and requires careful restoration. Stop work immediately if finishes peel, if there is strong odor of solvents, or if the trunk contains sensitive components like inlaid marquetry that could be damaged by improper cleaning.
FAQ
Is it safe to use mineral spirits on all trunks?
Mineral spirits can be safe on many wood finishes when used sparingly and tested first, but they may damage certain old finishes. Always test in an inconspicuous area before full application.
How often should I clean an antique trunk?
Clean lightly every 6–12 months, or as needed when dust and grime accumulate. Avoid over-cleaning, which can wear down finishes.
What about protecting brass hardware after cleaning?
After cleaning, apply a light coat of brass conditioning product or wax to preserve shine and prevent tarnish.
Can I remove the trunk’s finish to restore it completely?
Full refinishing is a specialized task that can affect value. It should be done by a professional conservator if the trunk has sentimental or monetary value.
Buying Guide
When selecting products to clean an old trunk, consider size, material compatibility, and finish sensitivity. For antique wood cleaner for trunks, choose formulas designed for light cleaning without stripping finishes. A mineral spirits furniture restoration solvent can assist with stubborn grime, but test first to protect antique varnishes. For maintenance, a soft bristle scrub brush for wood cleaning and microfiber cloth set for furniture cleaning provide safe, non-abrasive options. If hardware shows tarnish, a dedicated brass hardware cleaner spray for trunks helps restore shine without harsh rubbing. Consider the trunk’s size to choose a manageable cleaning approach and ensure the workspace can accommodate it safely. Finally, verify compatibility with any existing finishes or wax coatings to avoid unintended chemical reactions. While cleaning, ask yourself whether you prefer a minimal, preservation-focused approach or a more renewed appearance; both options are valid with the right products and careful technique.>