Paint transfer on a car occurs when fresh paint from another vehicle or a surface sticks to your clear coat. With the right tools and steps, most transfers can be removed without damaging the underlying paint. This guide walks American car owners through a practical, safe method using common detailing products.
Following a methodical approach helps preserve the integrity of your finish while restoring the vehicle’s appearance. The steps below cover preparation, removal, and post-treatment care to minimize chances of new transfers sticking in the future.
Quick Answer
Best quick method: Use a dedicated paint transfer removal kit or a two-step process with a clay bar and a rubbing compound, followed by a polish. For stubborn spots, a dual action polisher combined with proper pads accelerates results without harming the clear coat.
What You’ll Need
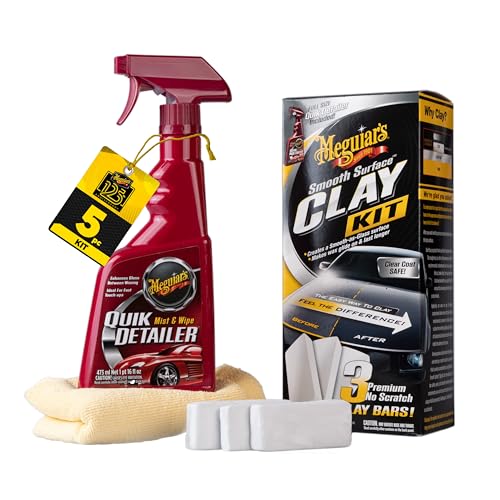
- car paint transfer removal clay bar kit
- automotive rubbing compound and polish kit 3-step
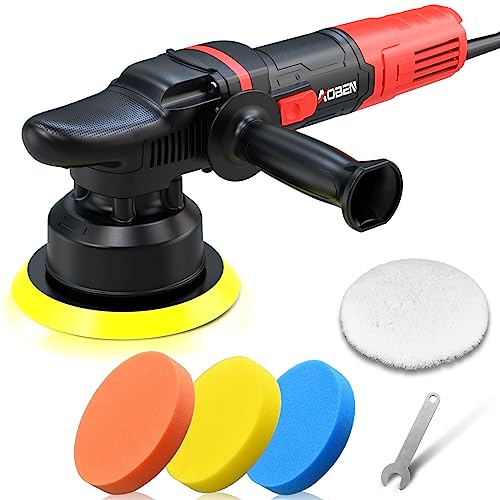
- dual action polisher with 6 inch pads kit
- 6 inch car detailing clay bar and microfiber towel set
- paint transfer remover for cars kit

Before You Start
Before beginning, wash the vehicle thoroughly to remove loose dirt. Work in shaded, cool conditions to prevent drying products too quickly. Inspect the area to confirm the transfer and note surrounding paint for any sensitivity. Wear protective eyewear and gloves to avoid chemical contact. Set aside a dedicated work area with ample lighting and prepared towels.
Time estimate: 45–90 minutes for typical transfers; larger panels may require extra passes. Avoid scrubbing aggressively, which can mar paint. If the transfer covers a large area or resurfaces after initial removal, consider professional help.
Step-By-Step: How To Remove Paint Transfer
- Rinse the area and use a clay bar kit to gently glide over the transfer, re-lubricating as needed to prevent scratching.
- Apply a small amount of paint transfer remover for cars kit or rubbing compound to a clean applicator pad.
- Work the compound over the transfer in straight, overlapping passes with light to moderate pressure to avoid clear coat damage.
- Wipe away residue with a microfiber towel and inspect the area for remaining transfer. Repeat as necessary, using fresh pads if buildup occurs.
- When the transfer is mostly removed, use the automotive rubbing compound and polish kit 3-step to restore clarity and remove micro-marring.
- Move to a dual action polisher with 6 inch pads kit for a controlled finish; start with a medium-cut pad and light pressure, then switch to a finishing pad for gloss.
- Wipe clean, then apply a light layer of polish to restore UV protection and enhance gloss. Buff until the area blends with the rest of the panel.
- Rinse and dry the area, then inspect again in daylight. If you notice faint edges, repeat the steps only on those spots.
- Apply a protective wax or sealant to the entire panel to lock in the finish and reduce new adhesion of contaminants.
- Document the process for future touch-ups and store all tools in a clean, dry place.
- Maintain regular washing and occasional clay bar sessions to minimize future paint transfer sticking.
- Consider professional detailing if the transfer recurs or covers significant areas.
Troubleshooting
| Symptom | Likely Cause | Fix | Prevention |
|---|---|---|---|
| Residue remains after initial pass | Transfer is embedded or oxidized | Apply additional passes with rubbing compound and polish | Address promptly; maintain regular washes |
| Clear coat hazing or micro-marring | Overworking with abrasive products | Switch to finer pads and lighter pressure | Use proper pads and speeds on dual action polisher |
| Transfer returns after cleaning | Underlying paint damage or persistent contamination | Assess with professional evaluation; reseal or repaint if needed | Prevent with prompt removal of contaminants |
| Pad glaze or compound residue drying quickly | Insufficient lubrication | Re-lubricate frequently during passes | Keep detailing spray or water source handy |
Common Mistakes
- Using harsh solvents on edges or delicate panels
- Rushing passes or pressing too hard with the clay bar
- Skipping lubrication, causing micro-scratches
- Working in direct sun or heat, which dries compounds too fast
Take time to test products on a small, inconspicuous area first to gauge response before full-panel work.
Tips For Best Results
- Always lubricate the surface well with detailing spray or water during clay bar work.
- Choose the right pad for the job: medium-cut for rough patches, finishing pad for gloss.
- Finish with a high-quality polish and a protective sealant or wax to protect against future transfer adhesion.
- Work in controlled lighting to catch any remaining transfer or marring.
Call A Professional
Seek professional help if:
- The transfer covers a large area or extends into delicate plastics or metal accents.
- There is suspicion of underlying paint damage, cracking, or clear coat failure.
- Repeated attempts fail to restore the finish.
FAQ
Can paint transfer be removed without damaging clear coat?
Yes, when using proper techniques with clay, appropriate compounds, and a dual action polisher, the risk of clear coat damage is minimized.
Should I use a clay bar on a fresh transfer?
Yes, clay bars help lift contaminants safely, especially when used with ample lubrication.
Is a polishing kit enough, or is a clay bar necessary?
It depends on the transfer; start with clay and use polishing as needed for any remaining residue.
How soon after a transfer should I treat the area?
Treat as soon as possible to prevent permanent adhesion or staining.
Can I reuse tools on other panels?
Yes, but wash and dry tools thoroughly and avoid cross-contamination with contaminated compounds.
Should I wax after removal?
Applying wax or sealant helps protect the finish and reduces future adhesion of contaminants.
Is it safe to use a dual action polisher at home?
Yes, with proper technique, low to medium speed, and the correct pads for your vehicle’s paint type.
Buying Guide
When choosing products to remove paint transfer and restore a car’s finish, consider size, noise level, energy efficiency, controls, and placement. For example, a compact dual action polisher with variable speed provides control on smaller areas and minimizes heat. A complete clay bar and microfiber towel set ensures safe, effective transfer removal across different panels. A multi-step rubbing compound and polish kit offers a balanced approach to removing embedded transfer while restoring gloss. If you frequently detail, a full kit that combines a clay bar, polish, and a reliable polisher helps maintain consistency. Compare kits by pad hardness, lubrication compatibility, and available finishing options to suit your vehicle’s paint hardness and color depth. Look for user-friendly designs, clear instructions, and warranty coverage. Always use appropriate safety gear and follow manufacturer guidelines to protect both the vehicle and the operator.