Cleaning bathroom windows can be challenging due to moisture buildup, soap scum, and hard water stains. This guide provides a practical, step-by-step approach using common window cleaning tools suitable for American homes. The goal is a clear, streak-free finish without damaging seals or frames.
Quick Answer
For a fast, effective clean, prepare with a microfiber cloth set and a window cleaning squeegee, start with warm soapy water, scrub with a microfiber brush, rinse, and finish with a squeegee to remove remaining moisture. Dry any edges with a microfiber towel to prevent streaks.
What You’ll Need
Collect these tools and materials to tackle most bathroom window cleaning tasks.
- Extendable window cleaning squeegee for bathroom
- 12 inch window squeegee bathroom with microfiber washer
- Bathroom window cleaning kit microfiber scrub brush
- Retractable wash brush for bathroom windows
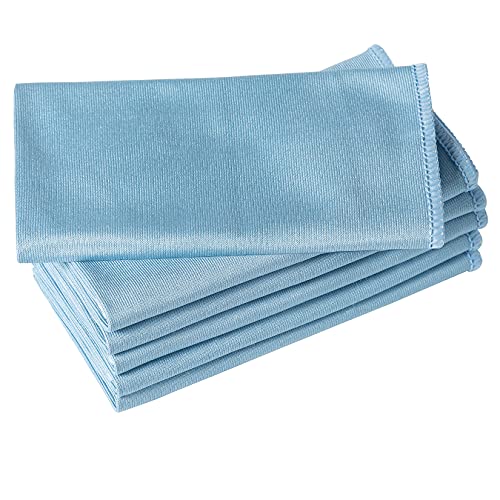
- Microfiber window cleaning cloth set for bathroom windows


Before You Start
Before beginning, gather tools and check the window frames for any damage. Warm, not hot, water helps dissolve soap scum without leaving rings. If the window has delicate seals or wooden frames, use a gentle approach and avoid harsh chemicals. A typical cleaning session for a single bathroom window takes about 15–25 minutes depending on stains. Important cautions: ensure electrical outlets or switches are protected, avoid dripping water onto electrical fixtures, and keep pets and children away from cleaning solutions.
Step-By-Step: How To Clean Bathroom Windows
- Prepare the area by laying a towel along the sill to catch drips and removing nearby items that could get wet.
- Dust the frame and sill with a dry microfiber cloth to remove loose dirt and prevent smears during washing.
- Mix a mild cleaning solution with warm water in a spray bottle. For hard water stains, add a splash of white vinegar for extra whitening power.
- Dip the bathroom window cleaning kit microfiber scrub brush or an extendable window cleaning squeegee for bathroom in the solution and scrub the glass in a vertical or circular motion, paying attention to corners and edges.
- Rinse the window with clean water using the retractable wash brush for bathroom windows or a separate rinse mop, removing all soap residues.
- Use the 12 inch window squeegee bathroom with microfiber washer to remove the bulk of the moisture, starting at the top and pulling downward in smooth, even strokes.
- Wipe the blade and edges with a microfiber cloth to catch any remaining droplets and prevent streaks.
- Dry the window frame, sill, and any surrounding areas with a dry cloth to prevent water spots and mold growth in damp spaces.
- Inspect the glass for streaks; if needed, buff with a clean microfiber cloth in a final downward pass to achieve a clear finish.
- Repeat on any remaining panes and store tools properly after use to prolong their life.
Troubleshooting
| Symptom | Likely Cause | Fix | Prevention |
|---|---|---|---|
| Streaks after cleaning | Residue from cleaner or hard water | Rinse, then use fresh water and a clean squeegee | Wipe edges last; use distilled water if minerals are high |
| Cloudy or hazy glass | Soap film left behind | Rewash with a vinegar rinse, then dry with microfiber | Avoid over-sudsing; use minimal cleaner |
| Water spots on frames | Drying too slowly | Dry promptly with a towel | Work in a shaded area to reduce rapid drying |
| Sticking squeegee blade | Debris on blade | Wipe blade clean between passes | Regular blade maintenance |
Common Mistakes
- Using paper towels that leave lint and fibers on glass
- Cleaning on a sunny day when the cleaner dries too quickly
- Neglecting the edges and corners where grime accumulates
- Ignoring window frames that trap moisture and promote mold
Tips For Best Results
For consistently clear bathroom windows, establish a routine based on humidity levels. Use microfiber window cleaning cloth set for bathroom windows to buff final passes and prevent micro-scratches. If mineral buildup is persistent, consider a specialized hard-water remover, but test it on a small area first. Keep tools in a dry, organized caddy to shorten setup time during weekly cleaning sessions. A light monthly scrub of the frame with a soft brush helps maintain overall cleanliness and reduces staining on glass edges.
Call A Professional
Contact a professional if there are extensive mold growth, damaged window seals, cracked glass, or persistent mineral deposits that do not respond to routine cleaning. Stop cleaning immediately if you notice signs of persistent leaks or structural damage around the window area. For safety, avoid attempting to repair glass or sealants without proper training.
FAQ
How often should bathroom windows be cleaned?
Most homes benefit from a biweekly wipe-down during high humidity months and a thorough clean every 4–6 weeks, depending on mineral buildup and soap residue.
Which tool works best for tight window spaces?
A retractable wash brush for bathroom windows and a narrow squeegee attachment help access corners and tight gaps effectively.
Can I use vinegar on all bathroom windows?
Vinegar works well for mineral buildup on non-porous glass but test on sensitive frames first and avoid vinegar on natural stone or metal without guidance.
What should I do about streaks after cleaning?
Re-wipe with a clean microfiber cloth using a fresh solution and ensure the squeegee blade is clean and free of debris.
Are there safer cleaners for wooden frames?
Yes—use mild soap and water, then dry thoroughly. Avoid harsh chemicals that can warp or discolor wood.
Buying Guide
Choosing the right tools for bathroom window cleaning improves efficiency and results. Consider the following factors:
- Size and reach: An extendable squeegee and a retractable wash brush help reach high or awkward windows without ladders. For standard baths, a 12-inch squeegee strikes a balance between coverage and control.
- Material and pads: Microfiber washers and cloths reduce lint and improve drying. Look for washable microfiber sets designed for bathrooms.
- Ease of use: Lightweight handles with ergonomic grips reduce hand fatigue during longer sessions. Quick-release blades or easy-clean squeegees speed up maintenance.
- Noise and vibration: Some squeegees operate quietly, which is preferable in quiet homes or shared spaces.
- Energy and water efficiency: Efficient tools minimize time spent and water usage. High-quality tools last longer, reducing replacement frequency.
- Placement and storage: Keep cleaning kits in a moisture-controlled cabinet or caddy near the bathroom to streamline routine cleaning.
- Compatibility with surfaces: Ensure tools are safe for glass, safe for frames, and suitable for the materials used in your bathroom (PVC, tile, wood, metal).
Multiple tool sets offer complementary capabilities. For example, an extendable squeegee paired with a microfiber cloth set and a scrub brush can cover the most common cleaning scenarios. If your windows face hard water, consider a dedicated mineral remover approved for bathroom glass, and always test on a small area first. By choosing a thoughtful combination of tools, homeowners can achieve clear, streak-free bathroom windows with minimal effort.